The short answer
Safety first
Start here
Symptom by symptom
The attachment runs, but slowly
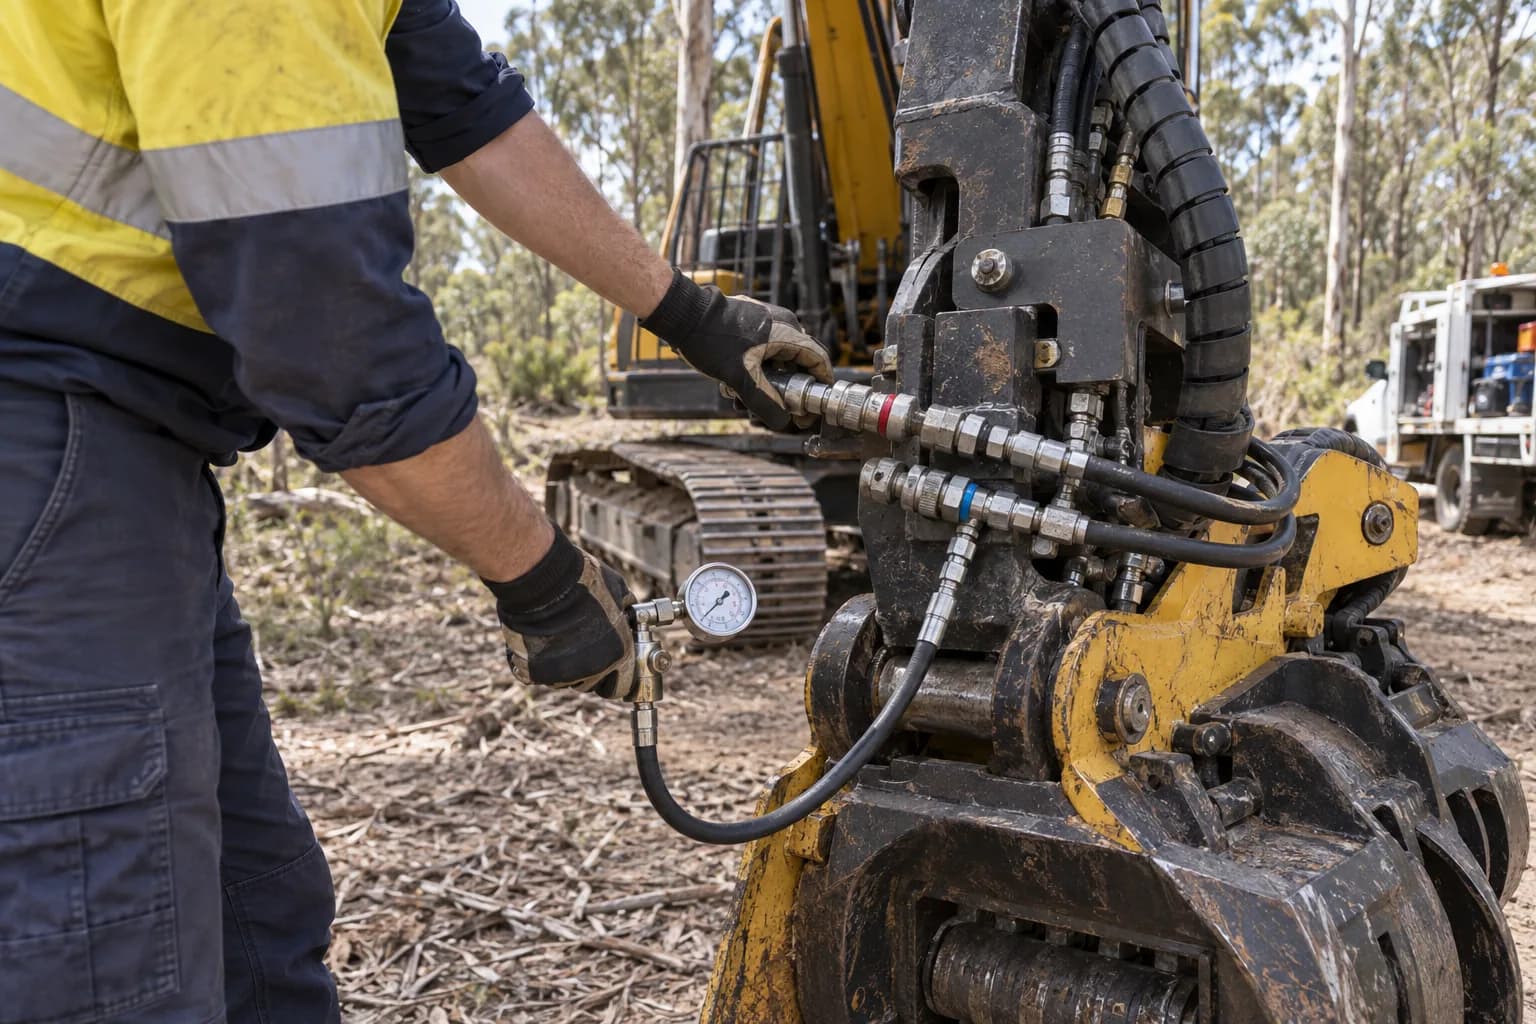
First check: Auxiliary flow at the machine, measured rather than assumed.
- 01
Insufficient auxiliary flow
Compare the measured flow at the coupler against the model's requirement. Flow sets speed, so a tool supplied under its window runs proportionally slow. This is the most common cause by a wide margin.
- 02
Flow restricted by fittings or hoses
Undersized couplers or hose runs choke flow even when the pump delivers it. Check the internal diameter of every fitting between the valve and the tool, especially on a retrofitted circuit.
- 03
Flow diverted or shared
Some machines split auxiliary flow between functions. Confirm the tool is getting the full circuit rather than a share of it.
- 04
Worn wear parts
Blunt teeth or a worn chain make the tool work harder for the same result, which presents as slowness. Inspect before diagnosing hydraulics.
It stalls in hard material
First check: Working pressure in bar, and the material you are actually cutting.
- 01
Insufficient working pressure
Flow sets speed; pressure sets force. A tool starved of pressure will stall in hard timber even when flow is correct, and operators routinely misread this as an undersized attachment.
- 02
Exceeding rated capacity
Published maximums are best case in favourable material. Derate for dense, fibrous or buttressed Australian hardwood, and check what you are asking of the tool against its rating.
- 03
Relief valve set low
A relief setting below the tool's requirement caps the force available. Have it checked against the manufacturer's specification.
Hydraulic motor seals failing early
First check: Whether a case drain line is fitted, and whether it returns to tank at low pressure.
- 01
No case drain
Piston motors usually need drainage back to tank. Running without it builds case pressure and kills motor seals, often inside a season. This is rarely covered by warranty.
- 02
Case drain plumbed into a pressurised return
A drain line must return to tank at low pressure. Teeing it into a pressurised return achieves nothing and fails in the same way as having no drain at all.
- 03
Contaminated oil
Forestry work is dirty and attachment circuits are exposed. Check filtration and service intervals, which tighten under continuous load.
The carrier overheats under sustained work
First check: Whether the work is continuous-load work the machine was not specified for.
- 01
Continuous load on an intermittent-duty machine
Mulching and grinding put continuous load on a machine designed for intermittent load. Pumps, coolers and final drives feel it. If you intend to run hard, improved cooling is a specification item rather than an accessory.
- 02
Radiator and cooler fouling
Mulching throws fine debris. Coolers block faster than operators expect, and the first symptom is heat under load rather than a warning light.
- 03
Undersized circuit generating heat
Oil forced through restrictions turns pressure into heat. If the tool is also running slow, these two symptoms usually share a cause.
Wear parts are lasting nowhere near expectation
First check: The ground, not the timber.
- 01
Abrasive soil
On a stump grinder, rate of wear is driven almost entirely by soil. Sandy and rocky ground eat teeth; clean clay is gentle. Decomposed granite and builder's rubble are in a category of their own.
- 02
Wrong rotor for the ground
Fixed teeth cut faster and finer in clean conditions and are less tolerant of impact. A fixed-tooth rotor on a site full of ironstone is a very expensive lesson.
- 03
Buried metal
Old fencing, reinforcement and services destroy teeth and can void warranty. Confirm service locations before grinding in urban fill.
- 04
Running parts past their replacement point
Worn teeth transfer load into the rotor and bearings. The consumable bill you avoided returns as a repair bill.
Cracking around the mount or bracket
First check: Whether the bracket is machine-specific or workshop-fabricated.
- 01
Bracket that does not sit correctly
A workshop-fabricated bracket that is out by a small margin concentrates load where the designer did not intend. This is the single most common cause of cracked steel on an otherwise sound attachment.
- 02
Carrier above the published range
A larger machine develops more force through the same mounting. The top of a published carrier range is a limit, not a suggestion.
- 03
Side loading
Using an attachment to push, rake or lever applies load in directions it was not designed for. Grabs used to rake are the classic case.
Cut quality has deteriorated
First check: Blade or chain condition, then alignment.
- 01
Blunt or damaged cutting edge
The obvious cause, and worth eliminating before anything else. A torn cut on a pruning head will fail inspection on compliance-specified work.
- 02
Jaw tracking out of line
On a shear, pin and bush wear is normal, and ignoring it lets the jaw track out of line — which is how blades get destroyed. Check pin wear before replacing another blade.
- 03
Chain tension incorrect
Slack or over-tight chain wears the bar, sprocket and chain together and degrades the cut. Check tension before replacing consumables.
- 04
Material above rated capacity
Feeding a 200 mm branch into a tool rated for 100 mm damages the tool and produces a torn cut. Capacity limits are firm.
Flow or pressure? The distinction that matters most
| Flow problem | Pressure problem | |
|---|---|---|
| What it governs | Speed | Force |
| How it presents | Runs slowly but completes the work | Runs at speed but stalls in hard material |
| Typical cause | Undersized circuit, restricted fittings, shared flow | Low relief setting, insufficient pump pressure, oversize material |
| How to confirm | Flow meter at the coupler | Pressure gauge under load |
| Wrong conclusion to avoid | Assuming the attachment is undersized | Assuming the attachment is faulty |
Most of this is preventable at purchase
- 01
Measure the circuit before you buy
Operating weight, auxiliary flow and working pressure, verified rather than assumed. The flow calculator checks those against every category in the range. - 02
Take the turnkey bracket
A machine-specific mounting bracket and hose kit costs more and prevents the cracking failure mode entirely. A workshop bracket that does not sit right costs more in steel than the kit saved. - 03
Fit the case drain
Cheap at purchase, expensive when seals fail, and generally not a warranty claim. If the motor needs drainage, plumb it to tank at low pressure and nowhere else. - 04
Specify for your worst ground
Rotor and tooth choice should suit the hardest conditions you meet regularly, not the site you are quoting today. Wear surprises are usually specification decisions in hindsight.
Before you call the supplier
Have these ready
- Attachment model and serial number
- Carrier make, model and operating weight
- Measured auxiliary flow at the coupler
- Measured working pressure under load
- Whether a case drain is fitted and where it returns
- Hours on the attachment
- Condition and age of wear parts
- Material and ground conditions when the problem appears
- Whether the bracket is machine-specific or fabricated
- Whether the symptom is constant or load-dependent