Skip to content
Machinery SpecialistForestry Attachment Guide

Field procedures

Do the checks that turn an attachment into a working system.

Practical, ordered procedures for the work between choosing a category and putting it into production: measuring hydraulics, matching the carrier, commissioning the installation, controlling wear and building a rate.

Use evidence, not assumptions

Eight procedures for the decisions that commonly fail after purchase

The category guides explain what each attachment does. These tutorials explain how to gather the carrier data, inspect the equipment, commission the complete installation and measure the commercial result.

Most attachment problems begin outside the attachment. A quotation is prepared from a carrier tonne class instead of an actual lift chart. Pump output is mistaken for usable auxiliary flow. A pair of couplers is assumed to provide every function. The head arrives, and the missing bracket, drain, controller, guard or hose route becomes an urgent workshop problem.

The first four tutorials prevent that chain. Measure flow under pressure with hot oil. Trace the installed circuit and identify what can operate simultaneously. Build attachment, hitch, rotator and retained material into the lift calculation. Commission the delivered combination under representative load and preserve a baseline for future diagnosis.

The next four procedures protect the operating result. A dedicated case drain keeps motor leakage from becoming a seal failure. A used-equipment inspection converts wear, missing fitment and support risk into a delivered-and-working cost. A tender-rate method connects completed production to paid hours, while a planned field kit turns parts availability into an uptime control.

Each tutorial is written as a field sequence rather than a product recommendation. It states the short answer first, identifies the checks in order, explains why they matter, lists failure patterns and finishes with a recordable checklist. Use the relevant procedure as part of supplier briefing, commissioning, operator training or estimating.

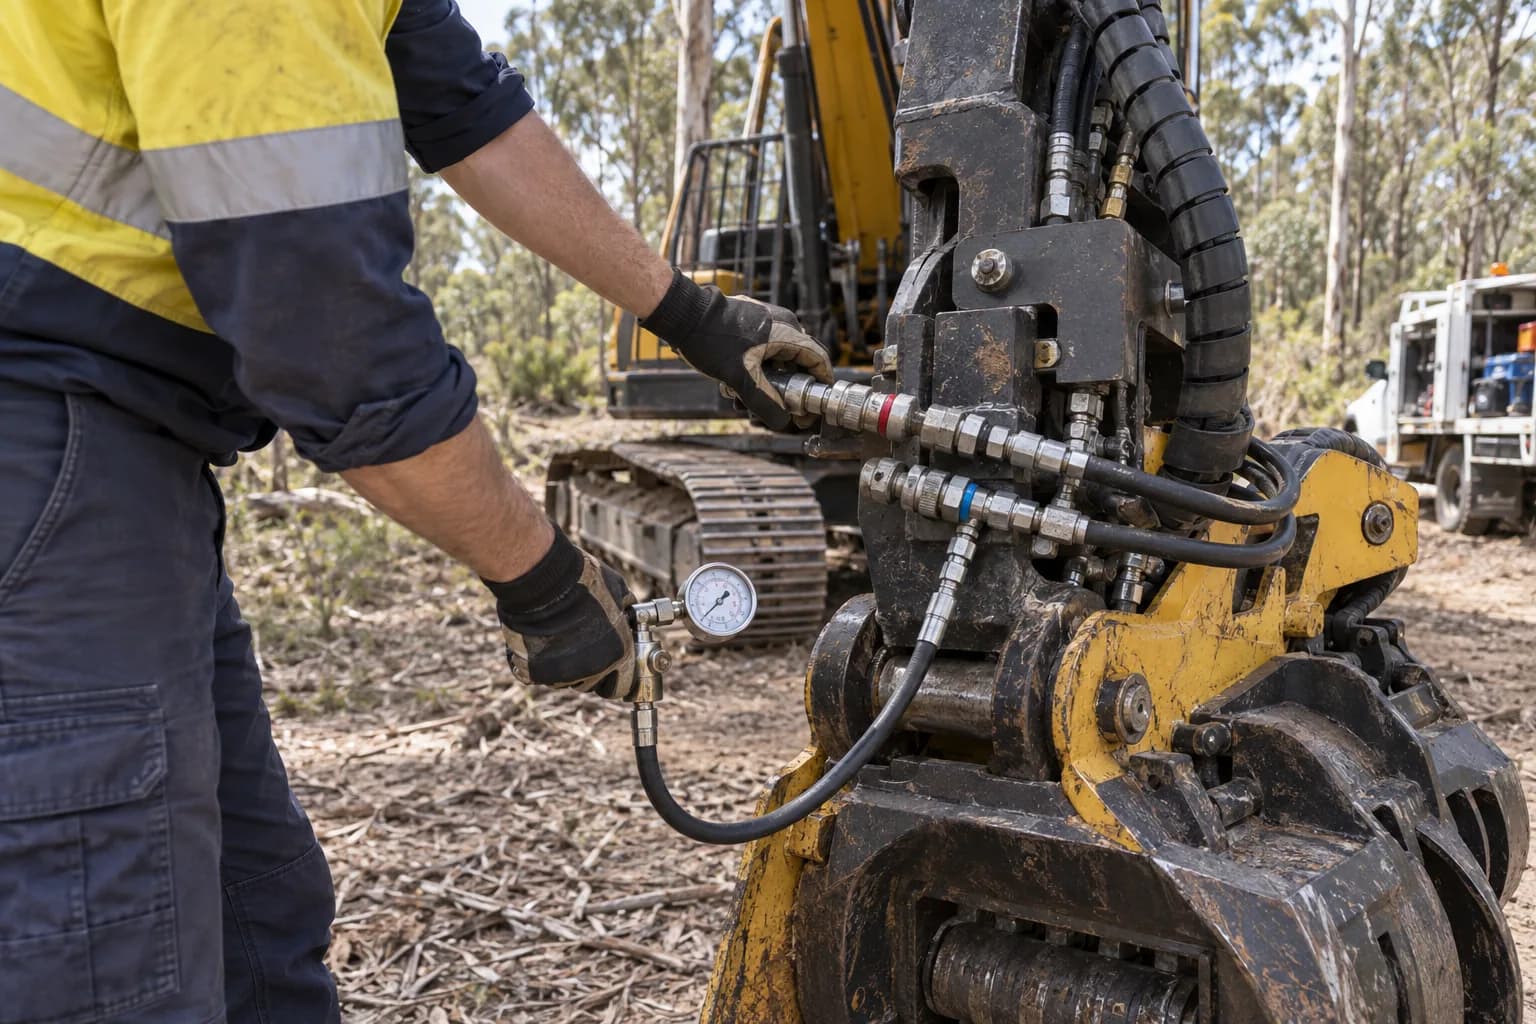
Technician checking hydraulic hoses and test equipment on an excavator attachment circuit
T01

Measure auxiliary flow

Use a calibrated flow meter and load valve at normal operating temperature, test the intended auxiliary circuit in both required directions, and record flow at the attachment manufacturer’s working pressure. The machine’s advertised pump output is not the number the attachment receives.

Open tutorial →
Excavator auxiliary hoses, couplers and hydraulic service points being inspected
T02

Identify the hydraulic circuit

Trace the hoses and controls rather than counting couplers. Confirm whether flow is one-way or reversible, whether a low-pressure case drain returns independently to tank, and whether two attachment functions can operate at the same time. Then verify the result against the machine manual and a functional test.

Open tutorial →
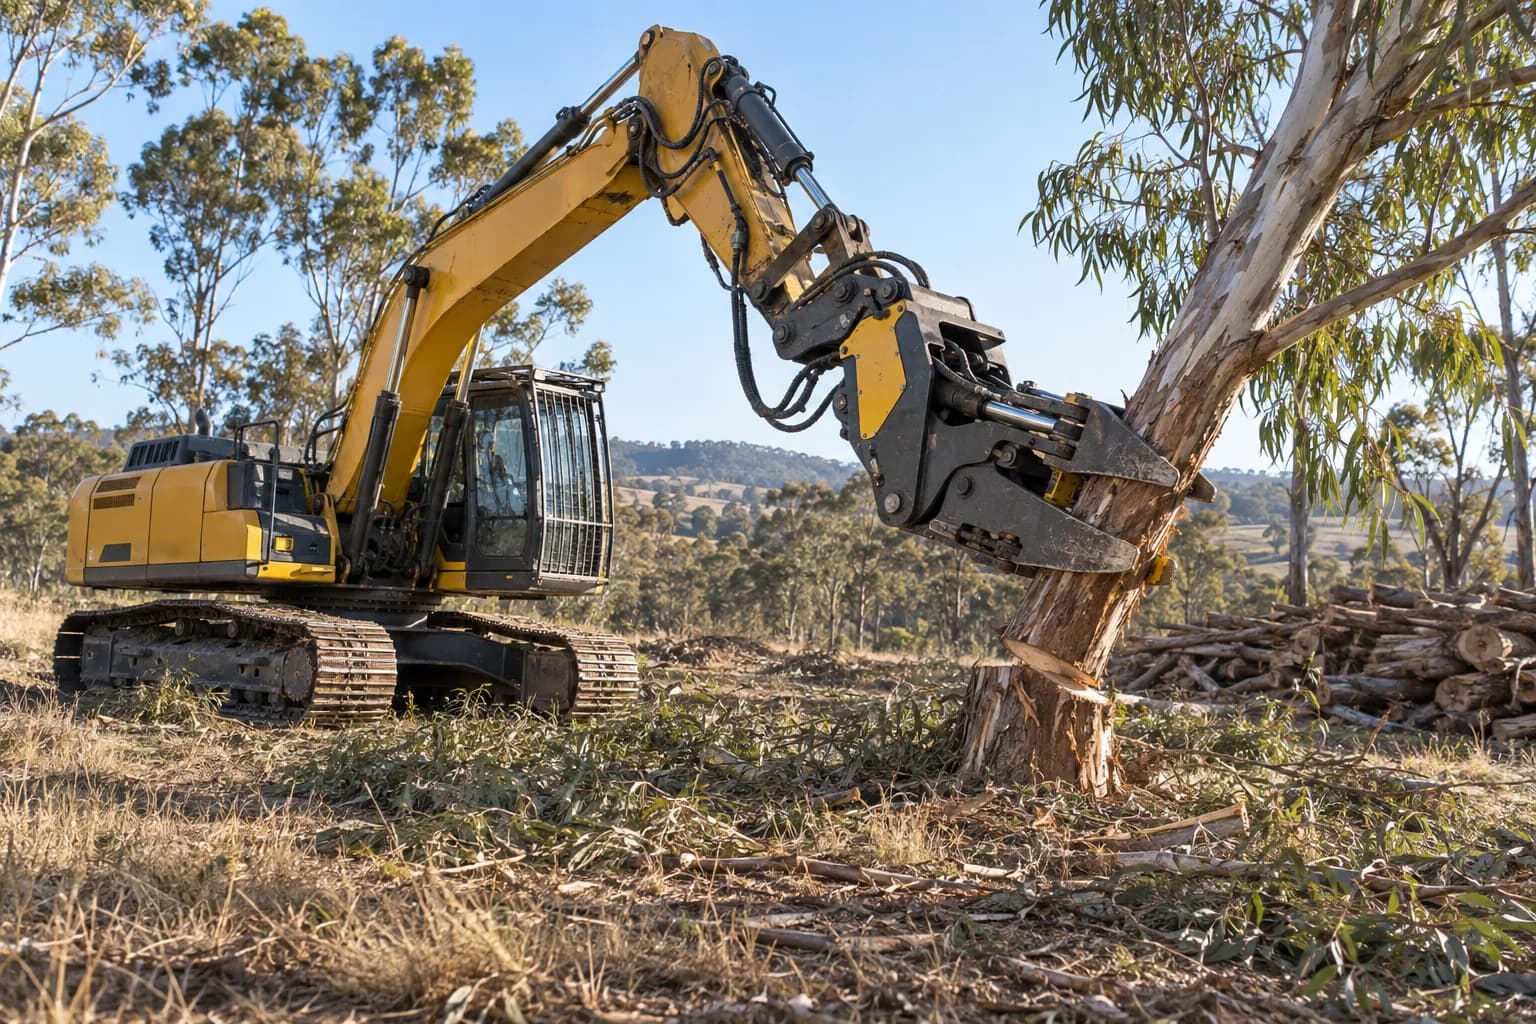
Forestry excavator holding a cut tree section with an attachment at working radius
T03

Size an attachment to a carrier

Treat published carrier tonnes as an initial filter. The final match requires attachment mass with bracket and rotator, excavator lift capacity at the actual radius and sector, usable hydraulic flow and pressure, transport configuration, guarding, and the maximum material the head will retain.

Open tutorial →
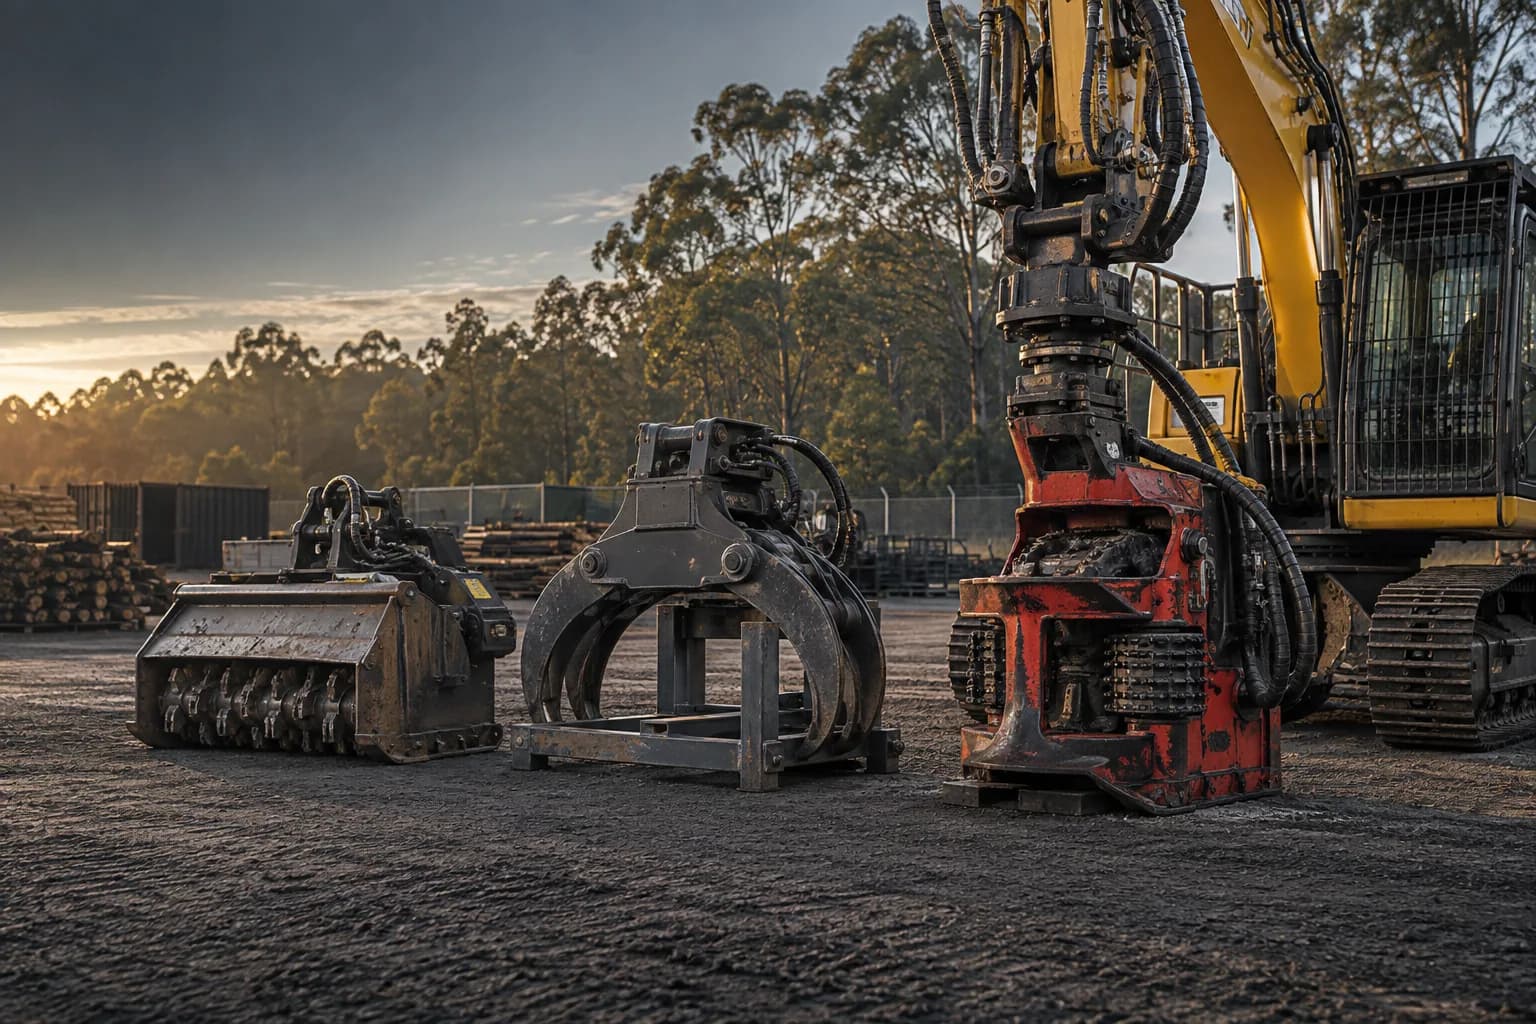
Forestry attachments and excavators prepared in a machinery yard for installation and commissioning
T04

Install and commission an attachment

Commission the ordered attachment as one installed system. Verify identity and mass, mechanical fit, hose routing, hydraulic settings, control logic, guarding and transport before loading it on representative material. Record baseline pressures, temperatures, cycle times and operator limits for future troubleshooting.

Open tutorial →
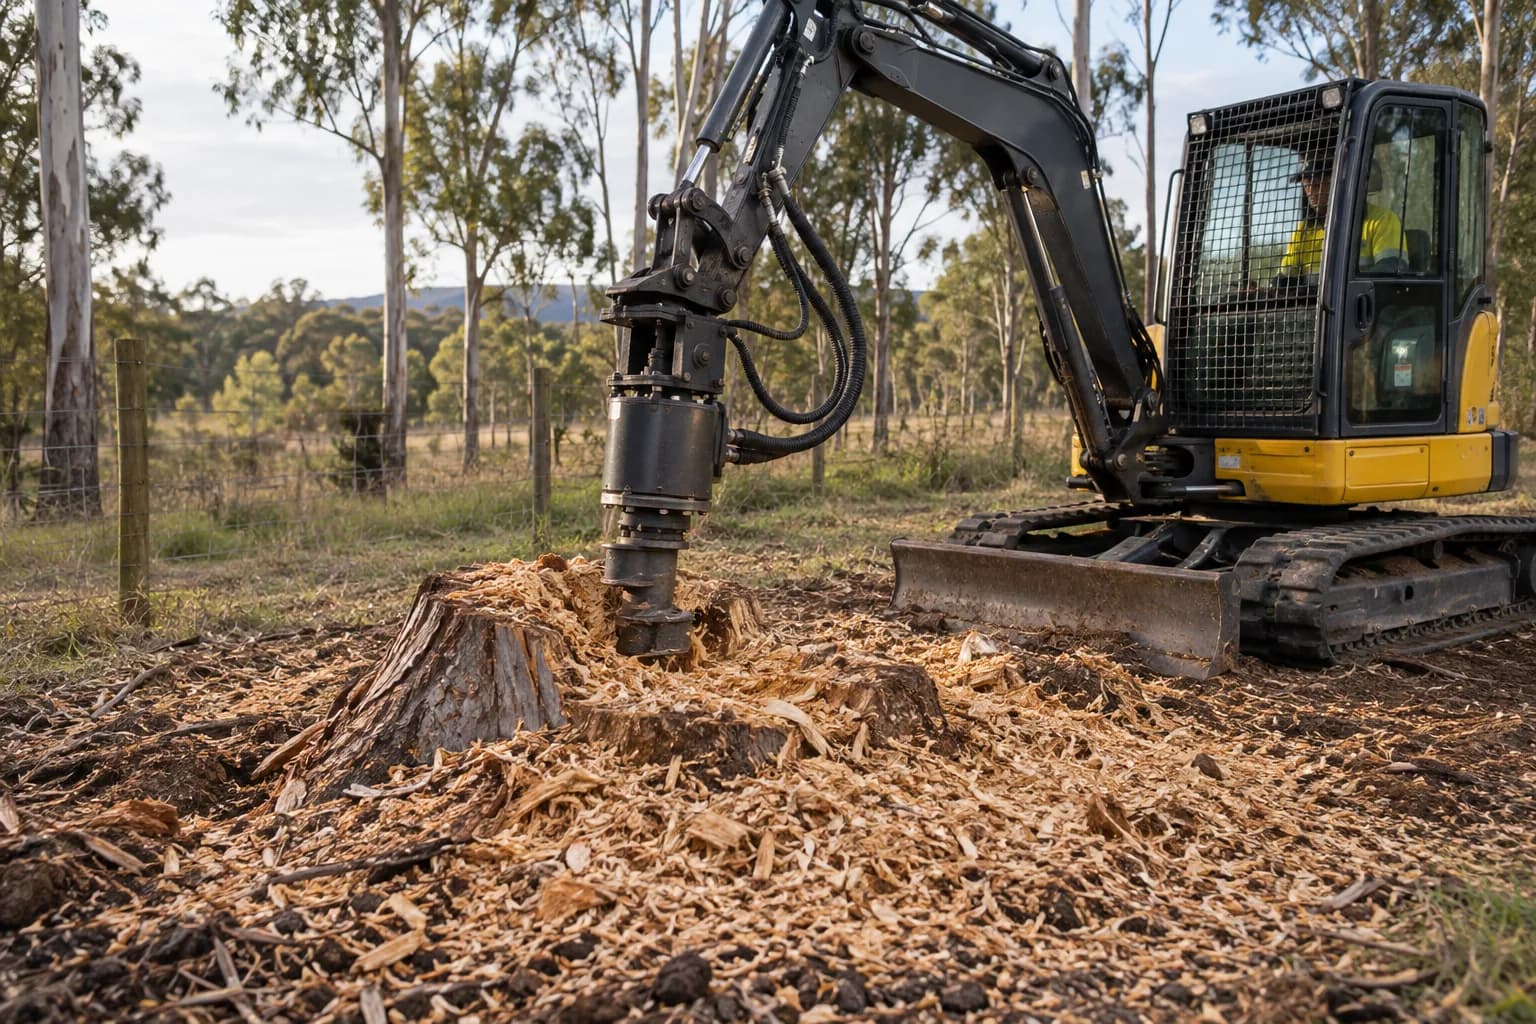
Excavator-mounted stump grinder with hydraulic supply, return and case-drain hoses visible
T05

Set up a case drain

Route the motor’s case-drain port through a dedicated, correctly sized, low-restriction line to the approved tank connection. Confirm the attachment manufacturer’s maximum drain pressure and measure it at working temperature. Never cap the port or tee it casually into a pressurised return.

Open tutorial →
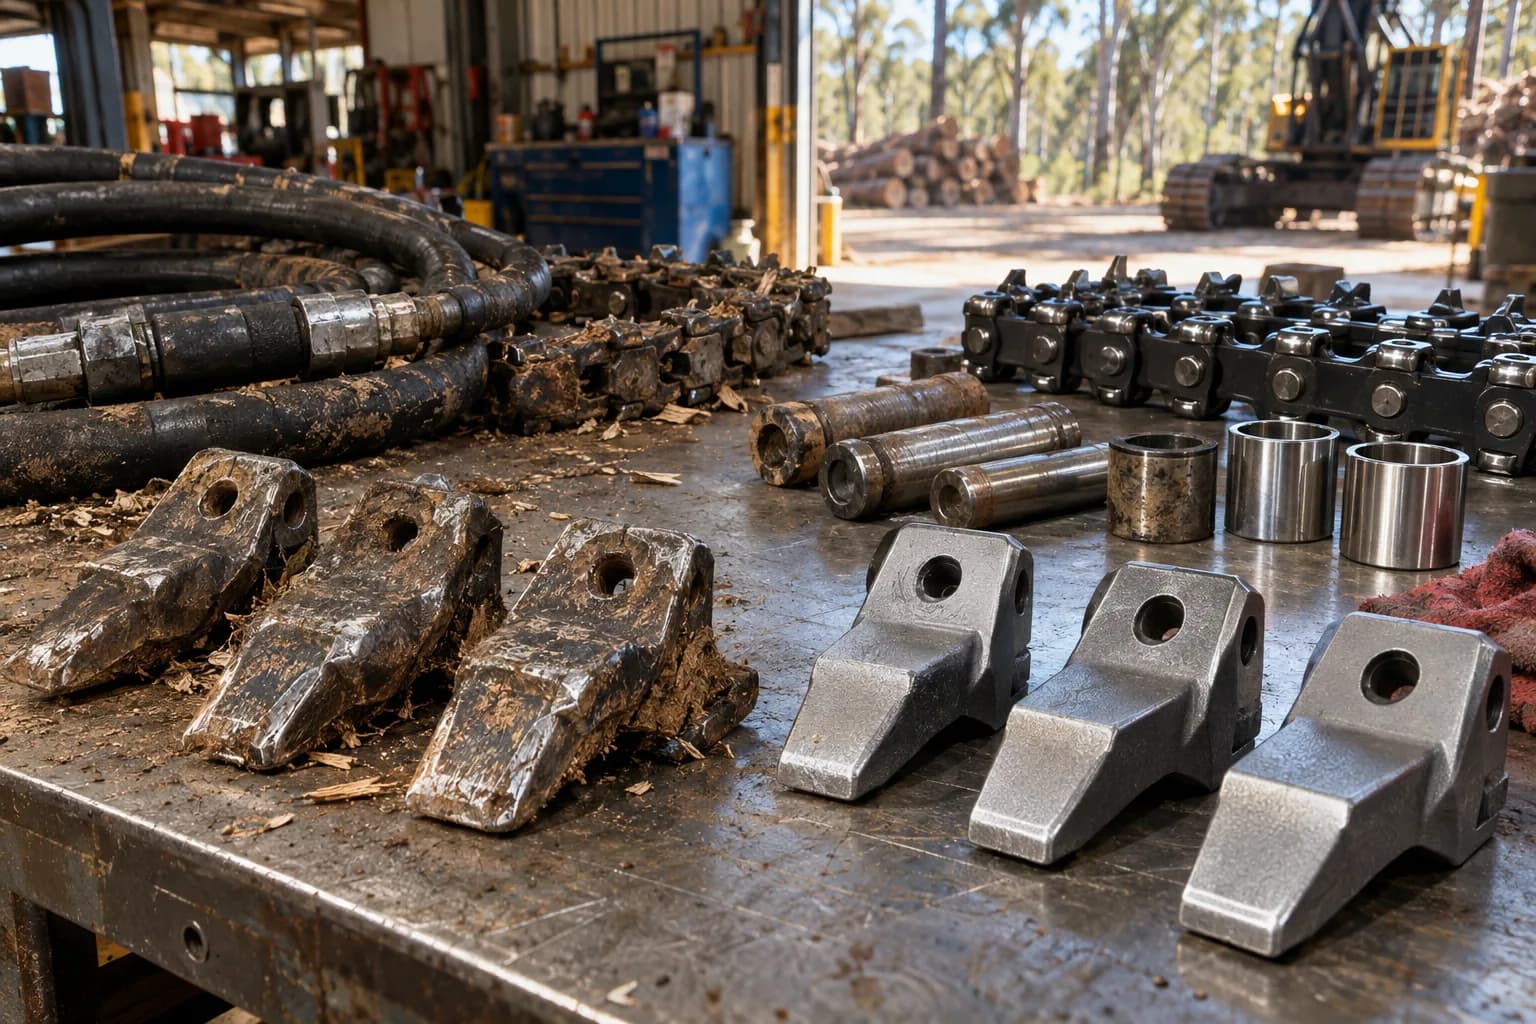
Forestry attachment wear parts, tools and components arranged on a workshop bench for inspection
T06

Inspect a used attachment

Identify the exact model and serial first, then inspect structure, pins, bearings, wear system, hydraulics, controls and supplied fitment as separate cost lines. Test the head hot on representative material and price every missing bracket, hose, controller and overdue wear item before comparing it with a complete new quotation.

Open tutorial →
Forestry machinery fleet in an Australian equipment yard representing ownership and tender costs
T07

Calculate a tender rate

Choose the unit the client accepts, estimate completed units per productive hour from comparable work, calculate the full hourly cost of carrier, attachment and crew, then add mobilisation, wear variability, downtime, overhead, risk and margin explicitly. Do not turn a demonstration cycle into an all-in hectare or stump rate.

Open tutorial →
Forestry attachment wear parts, hand tools and service items organised on a workshop bench
T08

Build a wear-parts kit

Stock parts by failure consequence, consumption rate and replenishment lead time—not by what is cheapest. Carry enough teeth, blades, chains, hoses, couplers, fasteners and service tools to protect the next work period, with every item matched to the exact attachment serial range and a reorder point recorded.

Open tutorial →

How to use the library

Keep the outputs with the machine record

Before the quote

Complete the circuit, flow and carrier checks, then send the recorded results to every supplier. Quotations become comparable because they start from the same installed machine and required work.

At delivery

Use the installation and commissioning procedure to verify what was ordered, save machine settings and record a working baseline before wear or site conditions change performance.

During production

Record completed units, hours, wear, temperature and downtime. Feed the evidence into the tender-rate and parts-kit procedures so the next job is based on observed work rather than memory.

These procedures do not replace the excavator or attachment manufacturer’s instructions, a lift study, competent hydraulic testing or a site-specific safe-work method. They make the information needed for those decisions visible. Where the result is uncertain, stop and involve the relevant supplier, engineer or technician rather than increasing a setting or improvising a connection.

Use the complete buyer’s guide to select a category, the industry profiles to define the commercial setting, and these tutorials to verify and document the system that will perform the work. Once the machine is deployed, continue with the operation and maintenance guides.