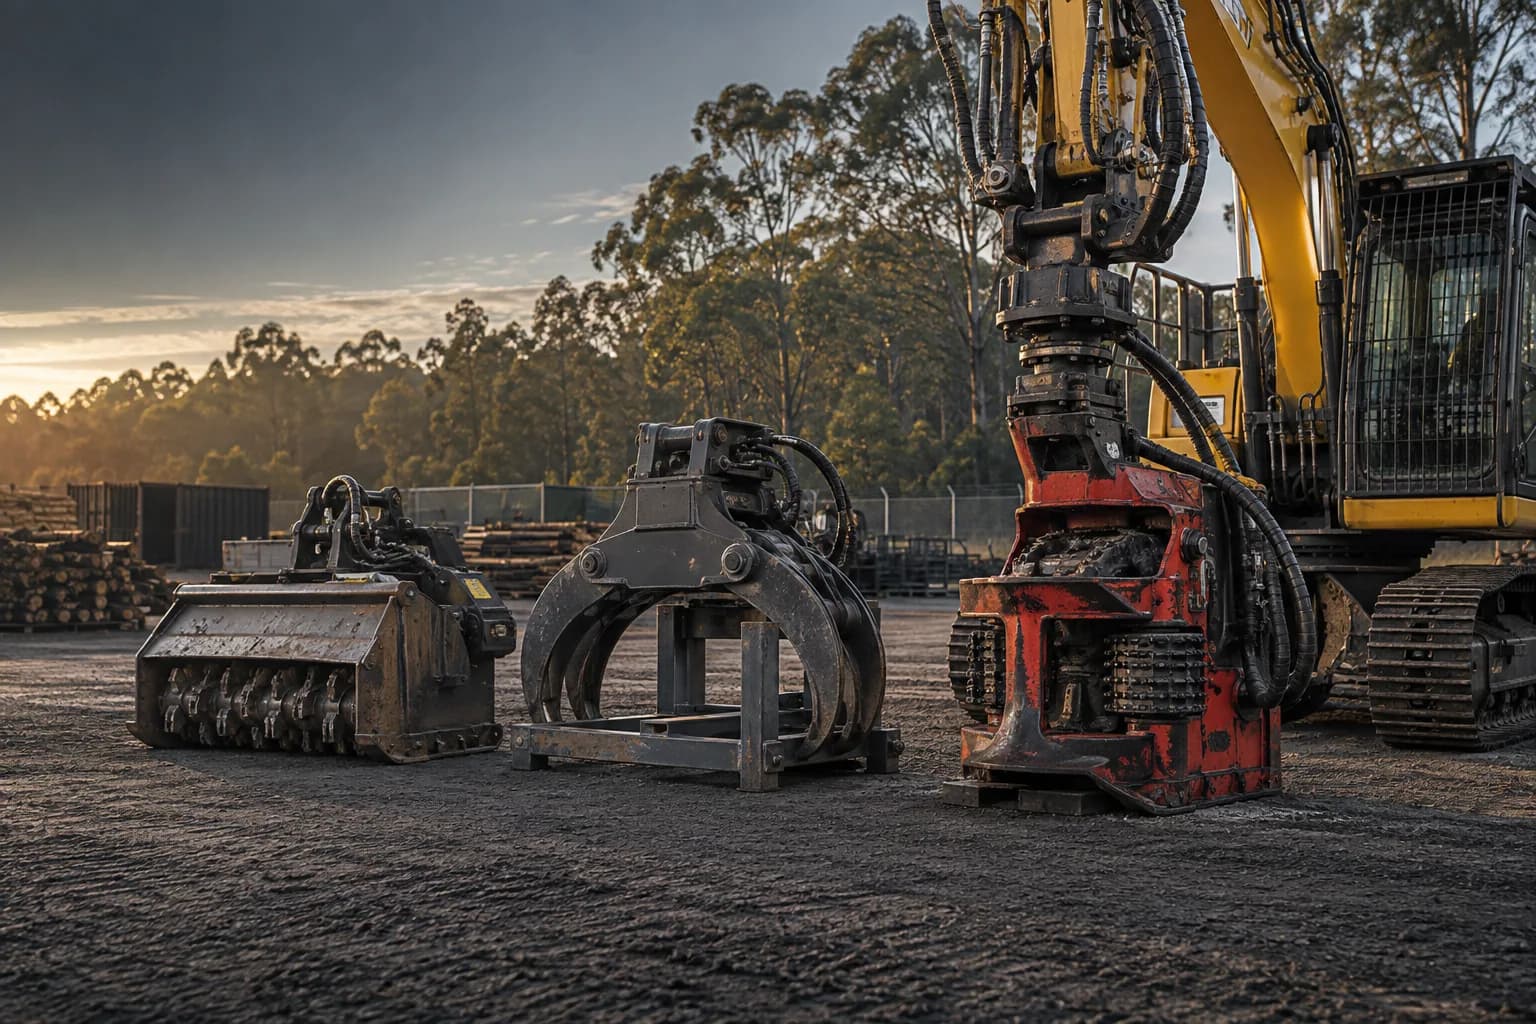
The short answer
Commission the ordered attachment as one installed system. Verify identity and mass, mechanical fit, hose routing, hydraulic settings, control logic, guarding and transport before loading it on representative material. Record baseline pressures, temperatures, cycle times and operator limits for future troubleshooting.
Procedure
Complete the work in this order
- 01
Inspect delivery against the order
Confirm model, serial number, bracket, hitch, rotator, options, hoses, couplers, guards, stands, manuals and initial wear parts. Photograph transport damage and record the complete installed mass. Resolve discrepancies before fabrication or use makes responsibility unclear.
- 02
Complete the mechanical installation
Check pin and hitch engagement, bracket alignment, clearances through the full boom and tilt range, locking devices and rated lifting points. Confirm the attachment can be stored securely and connected without placing people beneath an unsupported head.
- 03
Plumb and protect the hoses
Use the specified supply, return and drain ports. Route hoses for full articulation without tension, crushing, abrasion or contact with hot components. Fit restraints where a failed hose could enter the cab or moving parts, then mark connections for repeatable changeover.
- 04
Set controls and hydraulic limits
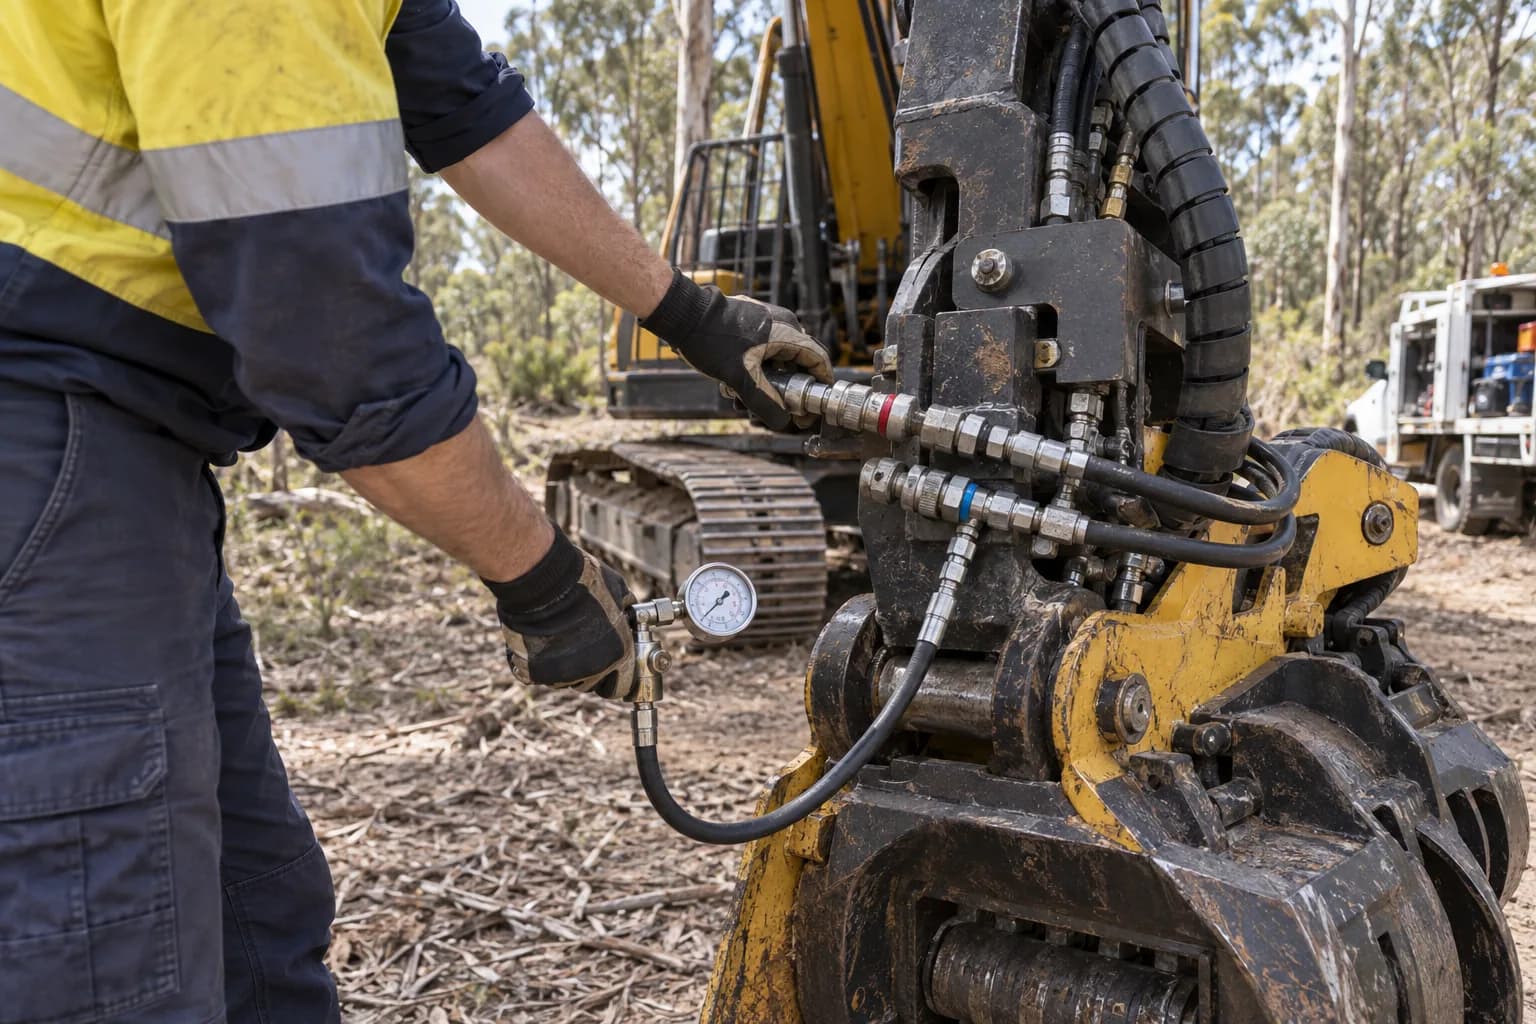
Load the correct monitor mode, flow, pressure and direction settings. Test each function at low speed, confirm safe default states and verify simultaneous functions. Measure return or case-drain pressure where specified instead of treating leakage as proof of a clear path.
- 05
Run a staged working test
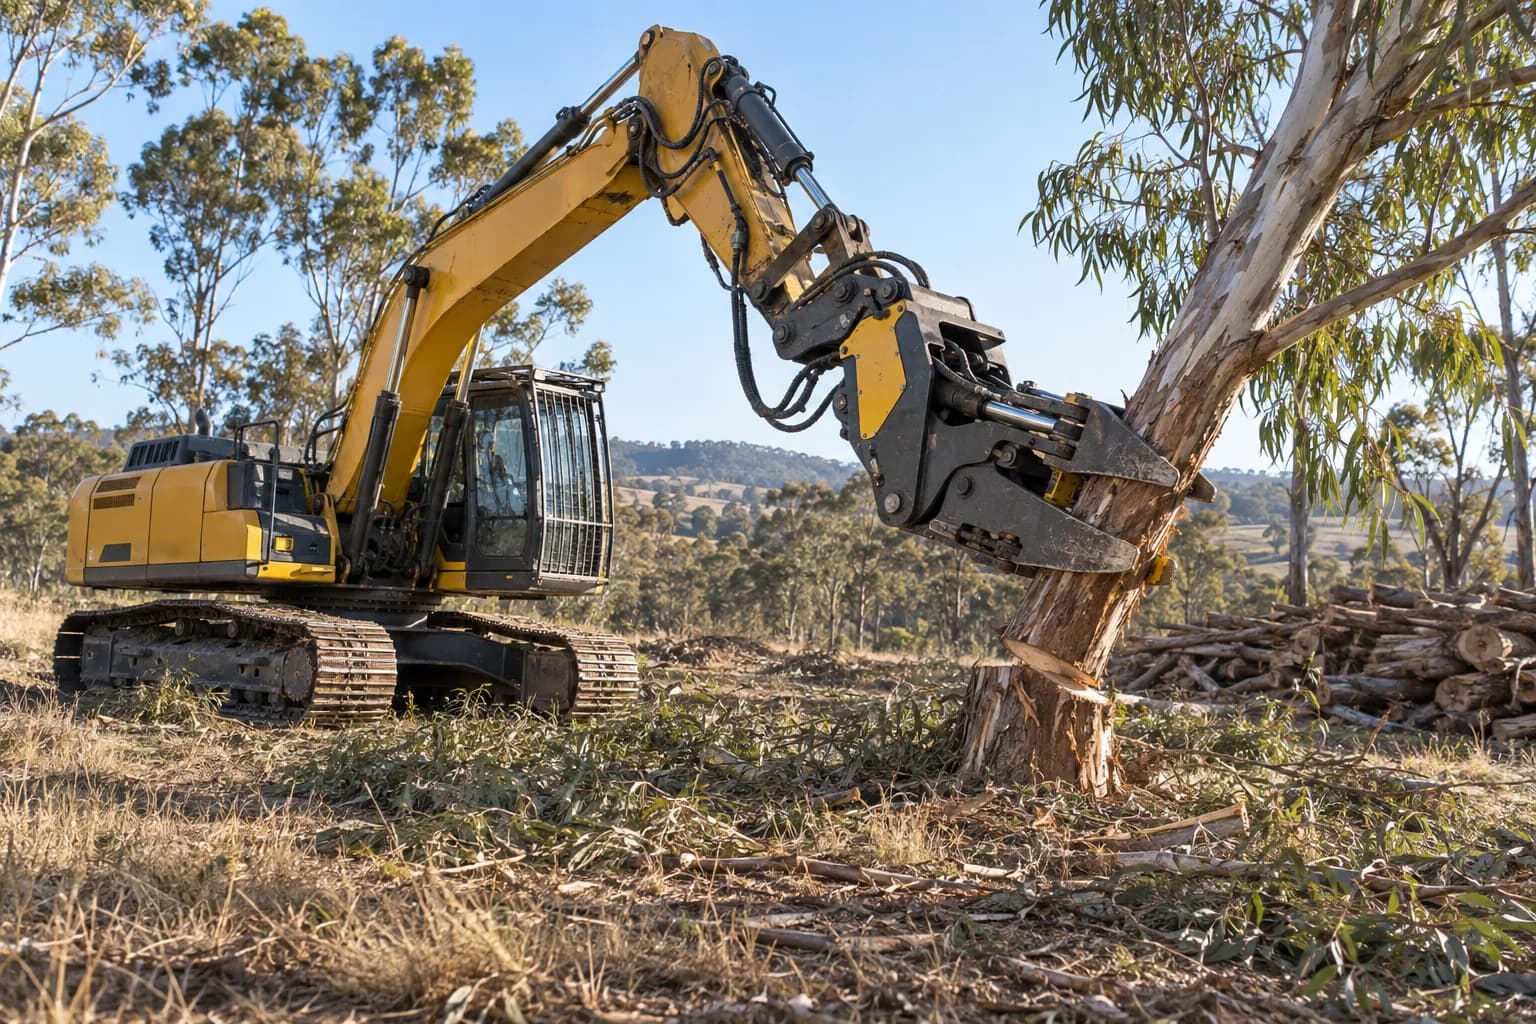
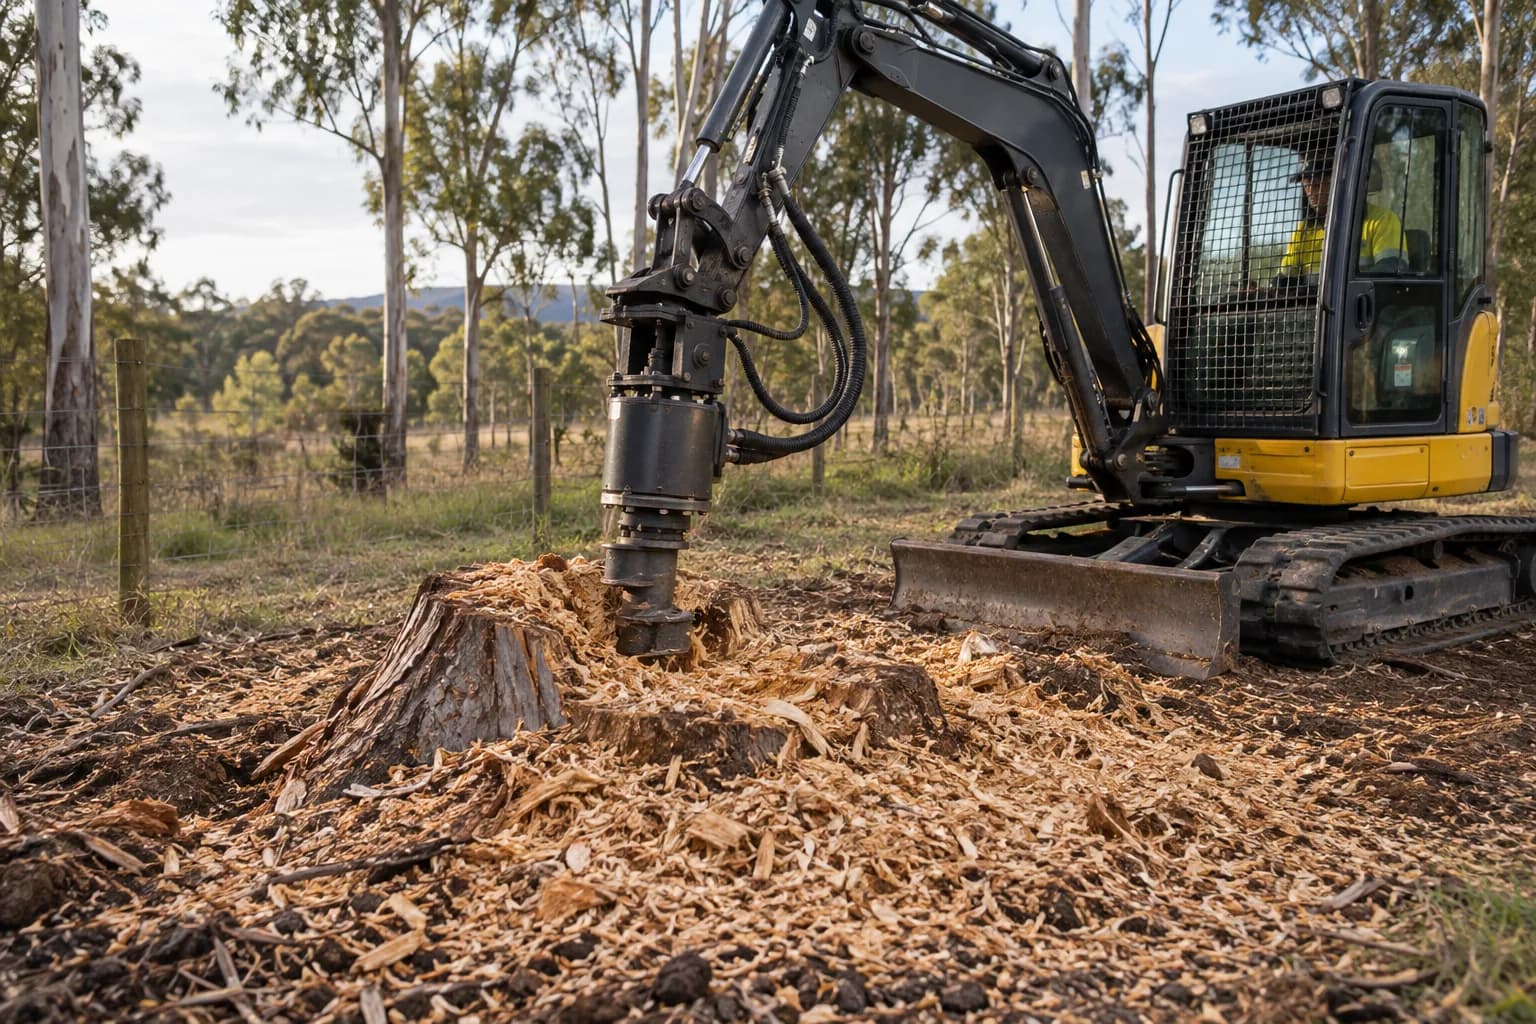
Warm the carrier, begin with light representative material and increase load while monitoring noise, vibration, leaks, temperatures and stability. Record cycle times and settings. Train operators on startup, shutdown, inspection, blocked-tool recovery and the approved operating envelope.
Create a baseline before production changes the machine
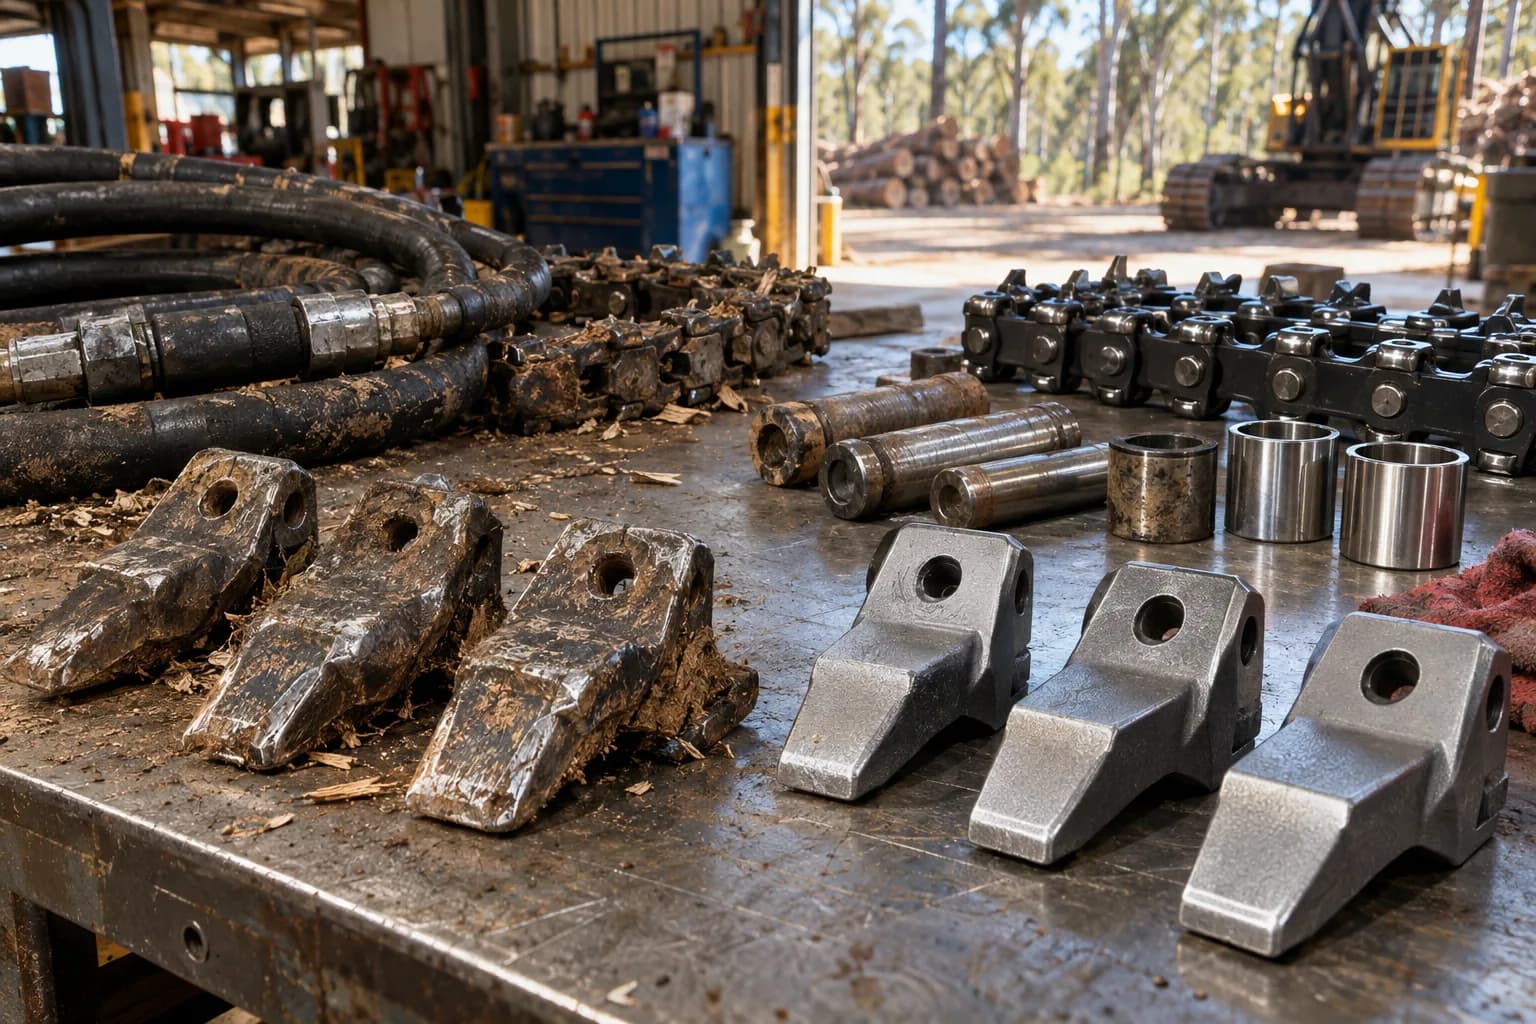
Commissioning is the only point at which every component is new, settings are known and wear has not altered performance. Record engine speed, monitor mode, flow, working pressure, return pressure, oil temperature, cycle time and any controller values. Photograph hose routing, guards, labels and wear components.
When production later falls, that baseline separates a hydraulic change from normal wear or different material. Without it, troubleshooting begins with opinion. Keep the record with the carrier and attachment serial numbers, supplier sign-off, training attendance and the exact configuration used during the test.
Make changeover and transport part of commissioning
If the attachment will be changed in the field, perform the complete process using the supplied stand and normal crew. Check depressurisation, contamination control, hose caps, coupler identification and storage. Record the realistic time and any lifting equipment required so estimators do not treat changeover as free.
Load the combination onto the intended transport and confirm restraint points, height, width, mass distribution and whether the head travels fitted or separately. A system is not commissioned for commercial use until the contractor can move, connect, operate, disconnect and store it safely and repeatably.
Common mistakes
Testing only in the yard
Free-running functions do not prove stability, heat rejection or performance under load.
Accepting unlabelled hoses
Incorrect reconnection can reverse functions or place motor leakage onto a pressurised return.
Skipping installed mass
The delivered configuration may differ materially from the brochure weight used during selection.
No baseline record
Later faults become arguments because nobody can show how the new system performed.
Continue the job
Size the attachment
Verify the selection assumptions before installation.
Troubleshooting guide
Use the baseline when output or heat changes.
Parts and support
Set responsibilities and response paths before production.