Operating principle
Inspect from the load path outward before the first cycle, then repeat a focused check after warm-up and at shutdown. Clean enough to see cracks and leaks, measure wear against limits, and record changes before a small defect becomes a stopped machine. Give every defect a clear status: safe to monitor, repair before the next shift, or isolate immediately. Record the person responsible and the follow-up date so a verbal observation cannot disappear between crews. Trend repeated findings by attachment hours and work type so planned maintenance responds before the same defect becomes a recurring stoppage. Photograph developing conditions from the same angle and include a scale so the next inspection can identify genuine movement rather than relying on memory.
Begin with isolation and the load path
Park on stable ground, lower the attachment into its approved resting position, release stored hydraulic pressure and apply the carrier isolation procedure. Do not inspect beneath a suspended head or rely on the hydraulic system to hold it. Confirm the stand or ground position cannot roll, close or rotate unexpectedly.
Start at the hitch and bracket, then follow pins, bosses, frame transitions, rotator or headstock and the main attachment body. Look for movement, missing retainers, fretting, elongated holes, cracked paint, distortion and fresh metal. A clean witness mark around a pin or weld often appears before a visible structural crack.
Inspect hydraulics through the full hose sweep
Check couplers, hose covers, crimps, clamps, valve blocks, cylinders and motors for leakage, abrasion, crushing and heat damage. Move the boom and attachment slowly through its normal range while an observer remains in a safe position. A hose that clears at rest may stretch across an edge during tilt or rotation.
Treat mist, pinhole leakage and a blistered cover as stop-and-repair conditions. Never use a hand to find a hydraulic leak. Clean and cap disconnected couplers, verify the case drain is connected where required, and compare any repeated seal leakage with the commissioning return- or drain-pressure baseline.
Measure the cutting and wear system
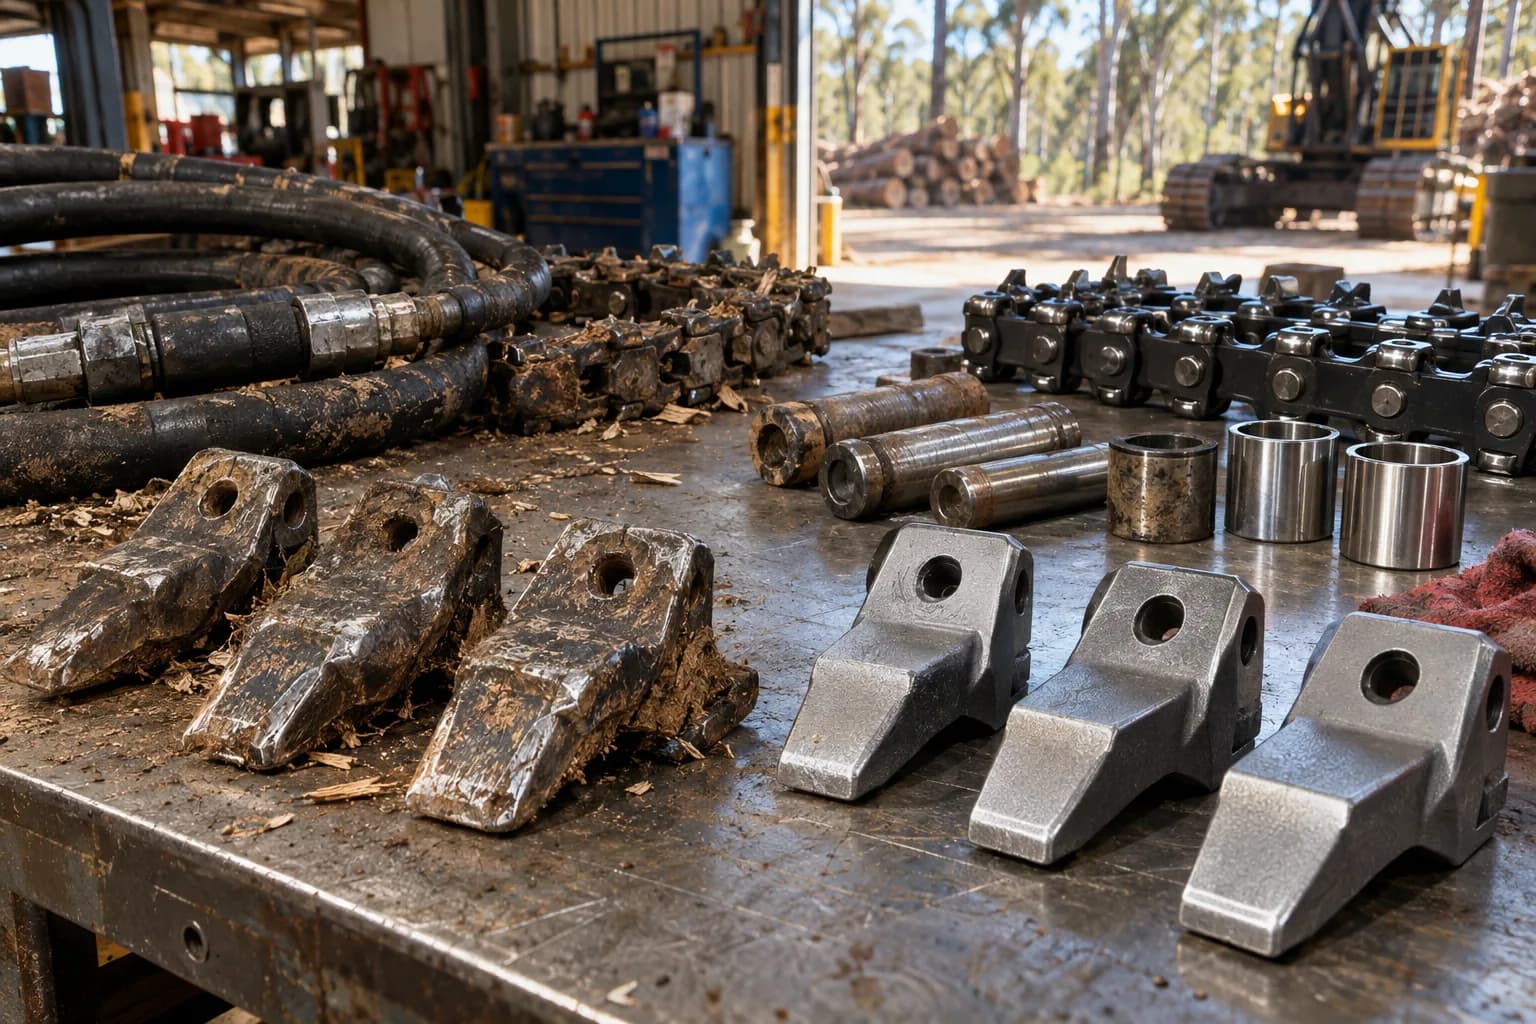
Count missing or damaged teeth, blades, chains, holders and fasteners. Measure remaining dimension or clearance where the manufacturer provides a limit, and rotate or replace parts as a complete balanced set when required. Uneven wear is information: it can indicate ground contact, incorrect attack angle, blocked movement or an operator working one side of the head.
For rotating equipment, check guards, curtains, bearings, belt or drive condition and signs of imbalance. Clear wrapped material only after isolation. A new vibration, sound or temperature change should be investigated before continuing; high-speed rotors convert small loose components into serious projectiles and secondary damage.
Use warm-up and shutdown as diagnostic checks
Run functions at low speed after the cold inspection and listen for abnormal noise, delayed movement or unstable control. After the first loaded cycles, stop safely and check for fresh leakage, hot bearings, hose movement and loosening. This warm check catches faults that do not appear while the system is static.
At shutdown, clean the attachment for inspection, note wear consumption and record productive hours, faults and parts used. Replenish the field kit at its reorder point. A short written record lets the next operator distinguish a developing pattern from a one-off observation and gives maintenance staff the information needed to plan rather than react.
Measure whether the operating system is working
Choose a small set of records that the crew can collect consistently: productive attachment hours, paid shift hours, completed units, fuel, wear parts, faults, delays and any temperature or pressure observation relevant to the head. Add the material and site condition needed to interpret the result. A number without context can make a hard site look like a machine fault or hide a deteriorating setup behind easier material.
Review the record at the end of the first shift, first week and each meaningful change in work. Compare with commissioning and previous jobs, then assign actions with an owner and date. The purpose is not paperwork volume; it is early evidence. Small changes in play, hose contact, cycle time, heat or consumable use are cheaper to investigate before they become structural repair, motor damage or a missed project window.
Keep this guide with the rest of the operations library and the carrier record so another operator or fitter can repeat the same method.
Related procedures
Wear-parts guide
Turn inspection findings into replacement planning.
Troubleshooting
Diagnose heat, vibration and lost performance.
Build a field kit
Carry the parts that protect the next work period.